
How to add objects and rooms?
1. CREATING BUILDINGS
- Open the "Objects" menu.
- Click the "New Building" button in the top-right corner.
- Add the building's name, size, and address. Once done, add the owner's details by clicking "Add New Owner" or "Use Existing Owner" if the owner has already been entered.
- Click "Save", and the new building is created.
2. MANUALLY ADDING ROOMS
- Open the "Buildings" menu and select the building where you want to add spaces.
- Choose "Rooms" from the top menu and click the "Add room" button on the right.
- Enter the room's number or name and its size. Click "Create Room", and the new room will be added. You can optionally add additional details to the room if needed.
3. ADDING ROOMS WITH EXCEL IMPORT
- Open the "Buildings" menu and select the building where you want to add rooms.
- Choose "Rooms" from the top menu and click the "Import from Document" button on the right.
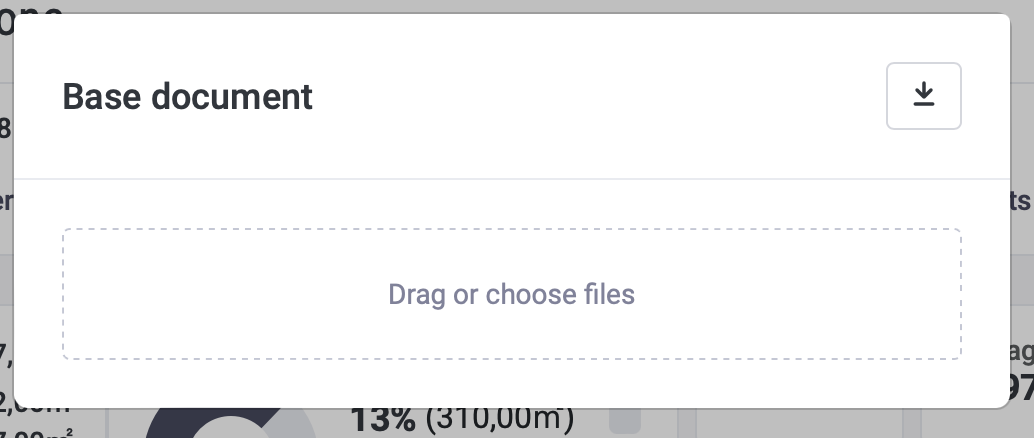
- Download the base document/template (arrow down icon on the right) and open it on your computer.
- The first row (row 8) is an example and can be deleted or overwritten.
- Fill in the room names, type (Rentable = rentable space, Common = shared space), and total area. Optionally, fill in other fields as needed.
Save the document and upload it into the Hausing window that remained open after downloading the template. Either drag the file into the window or click "Drag or choose files" to choose the file from your computer.
Refresh the page, and the rooms will be added to the building.