
Setting up work management
First, it is important to add properties and spaces to Hausing.
Decide how you want tasks to be entered into Hausing.
THERE ARE THREE WAYS TO ENTER TASKS TO HAUSING:
1. Add tasks manually
To do this, go to: Tasks > Add Task > Fill in the required fields > Save.
2. Link a maintenance work email with Hausing
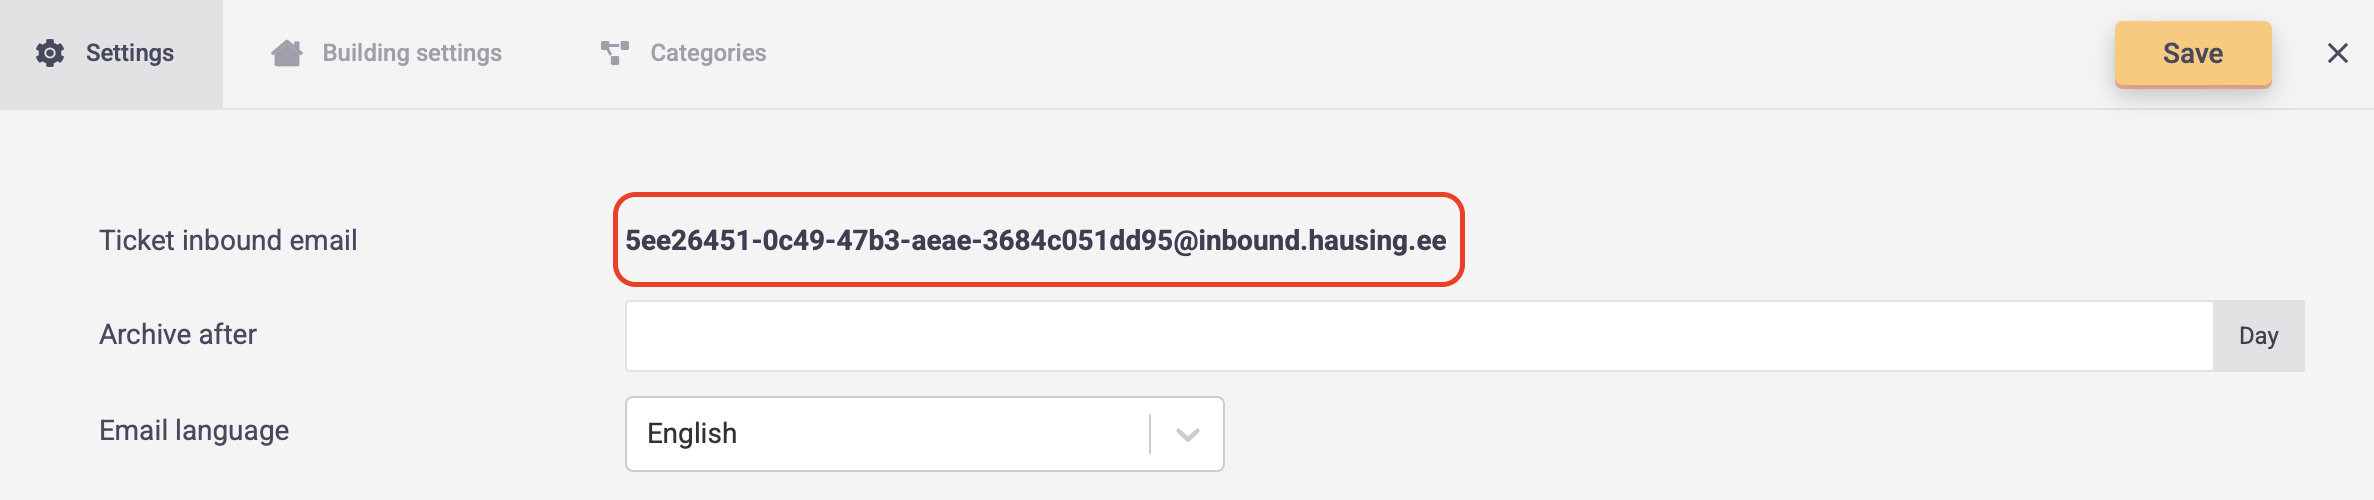
When an email is sent to this address, Hausing automatically creates a task ticket where the email subject becomes the ticket title, and the email content becomes the ticket description.
To link the email with Hausing, set up email forwarding to the Hausing-generated address in your email provider settings.
You can find the email address here: Tasks > Settings > Ticket inbound email.
If you want each building to have a dedicated maintenance email address for tenants to report issues, you can link a unique email for each building. In this case, tasks will automatically be associated with the correct building when they arrive in Hausing.
You can find these emails here: Tasks > Building settings > Select building > Ticket inbound email.
3. Create Hausing User Accounts for Tenants
The third option is to create individual user accounts for tenants so they can log into Hausing, submit tasks, and track their task status.
- If you are only using the task management module, follow this guide.
- If you are also using the lease management module, follow this guide.
ADD CONTACTS FOR EXTERNAL PARTNERS
Tasks can be assigned to internal users, external service providers, or any selected email address.
It’s convenient to assign tasks to external service providers when their contact information has already been added to Hausing.
To create a new external service provider contact:
- Open the "Contacts" menu and select "Contractors" from the top menu.
- Click "Add contractor" in the upper right corner.
- Enter the company name and primary contact email address.
- You can add additional contacts if tasks need to be assigned to different employees within the same company.
- Click "Save" to create the contact.
ADD CATEGORIES FOR TASKS
If you wish, you can add categories to tasks to facilitate analysis by category.
- Open the "Tasks" menu and select "Categories" from the top menu.
- Click "Add New" and create as many categories as you need.
- After adding or editing categories, click "Save".
CONFIGURE TASK SETTINGS
Open the "Tasks" menu and select "Settings" from the top menu.
You can adjust the following settings:
- Archive after … days – specify how many days after task completion the task should be archived.
- Notification emails – specify the email address that should receive notifications when a task is submitted via email or the tenant portal.
- Task summary notifications – set who will receive summary notifications and how often.
- Mandatory fields for tickets – Define which fields must be filled in when creating a task ticket.
- After making the changes, click "Save".